Painting your own interior walls represents one of the most satisfying and cost-effective home improvement projects you can undertake. What seems intimidating at first—transforming an entire room with paint—becomes straightforward when you approach it methodically with proper preparation and quality tools. The difference between amateur-looking paint jobs and professional results lies not in complex techniques but in patience, preparation, and using appropriate materials. Dulux Decorator Centre provides everything you need to achieve beautiful results, from high-quality paint to professional-grade tools and expert guidance. This comprehensive guide walks you through every step of DIY painting success.
Preparation: The Key to Professional Results
The most critical phase of any painting project occurs before you open the paint can. Proper preparation determines whether your final result looks amateur or professional. Begin by clearing the room or moving furniture to the center and covering it with plastic sheets. Remove light fixtures, outlet covers, and anything else that cannot be painted. Lay drop cloths across the entire floor, extending slightly beyond where you will paint to protect against drips and splatters.
Next, clean all surfaces to be painted. Dust, dirt, and grime prevent paint from adhering properly. Wash walls with warm soapy water and allow them to dry completely. Repair any holes, cracks, or imperfections with spackle or joint compound, then sand smooth once dry. Prime any repaired areas or bare spots to ensure uniform color coverage. This preparation work takes time but absolutely justifies the effort through superior final results.
Choosing the Right Paint and Tools
Quality paint and tools make an enormous difference in your results. Interior paint comes in various finishes—flat, eggshell, satin, and semi-gloss—each suited for different applications. Flat paint hides imperfections well but is less durable. Eggshell and satin offer good durability and washability for most rooms. Semi-gloss is excellent for kitchens and bathrooms where moisture and frequent cleaning occur. Dulux Decorator Centre helps you select the appropriate finish for your specific needs.
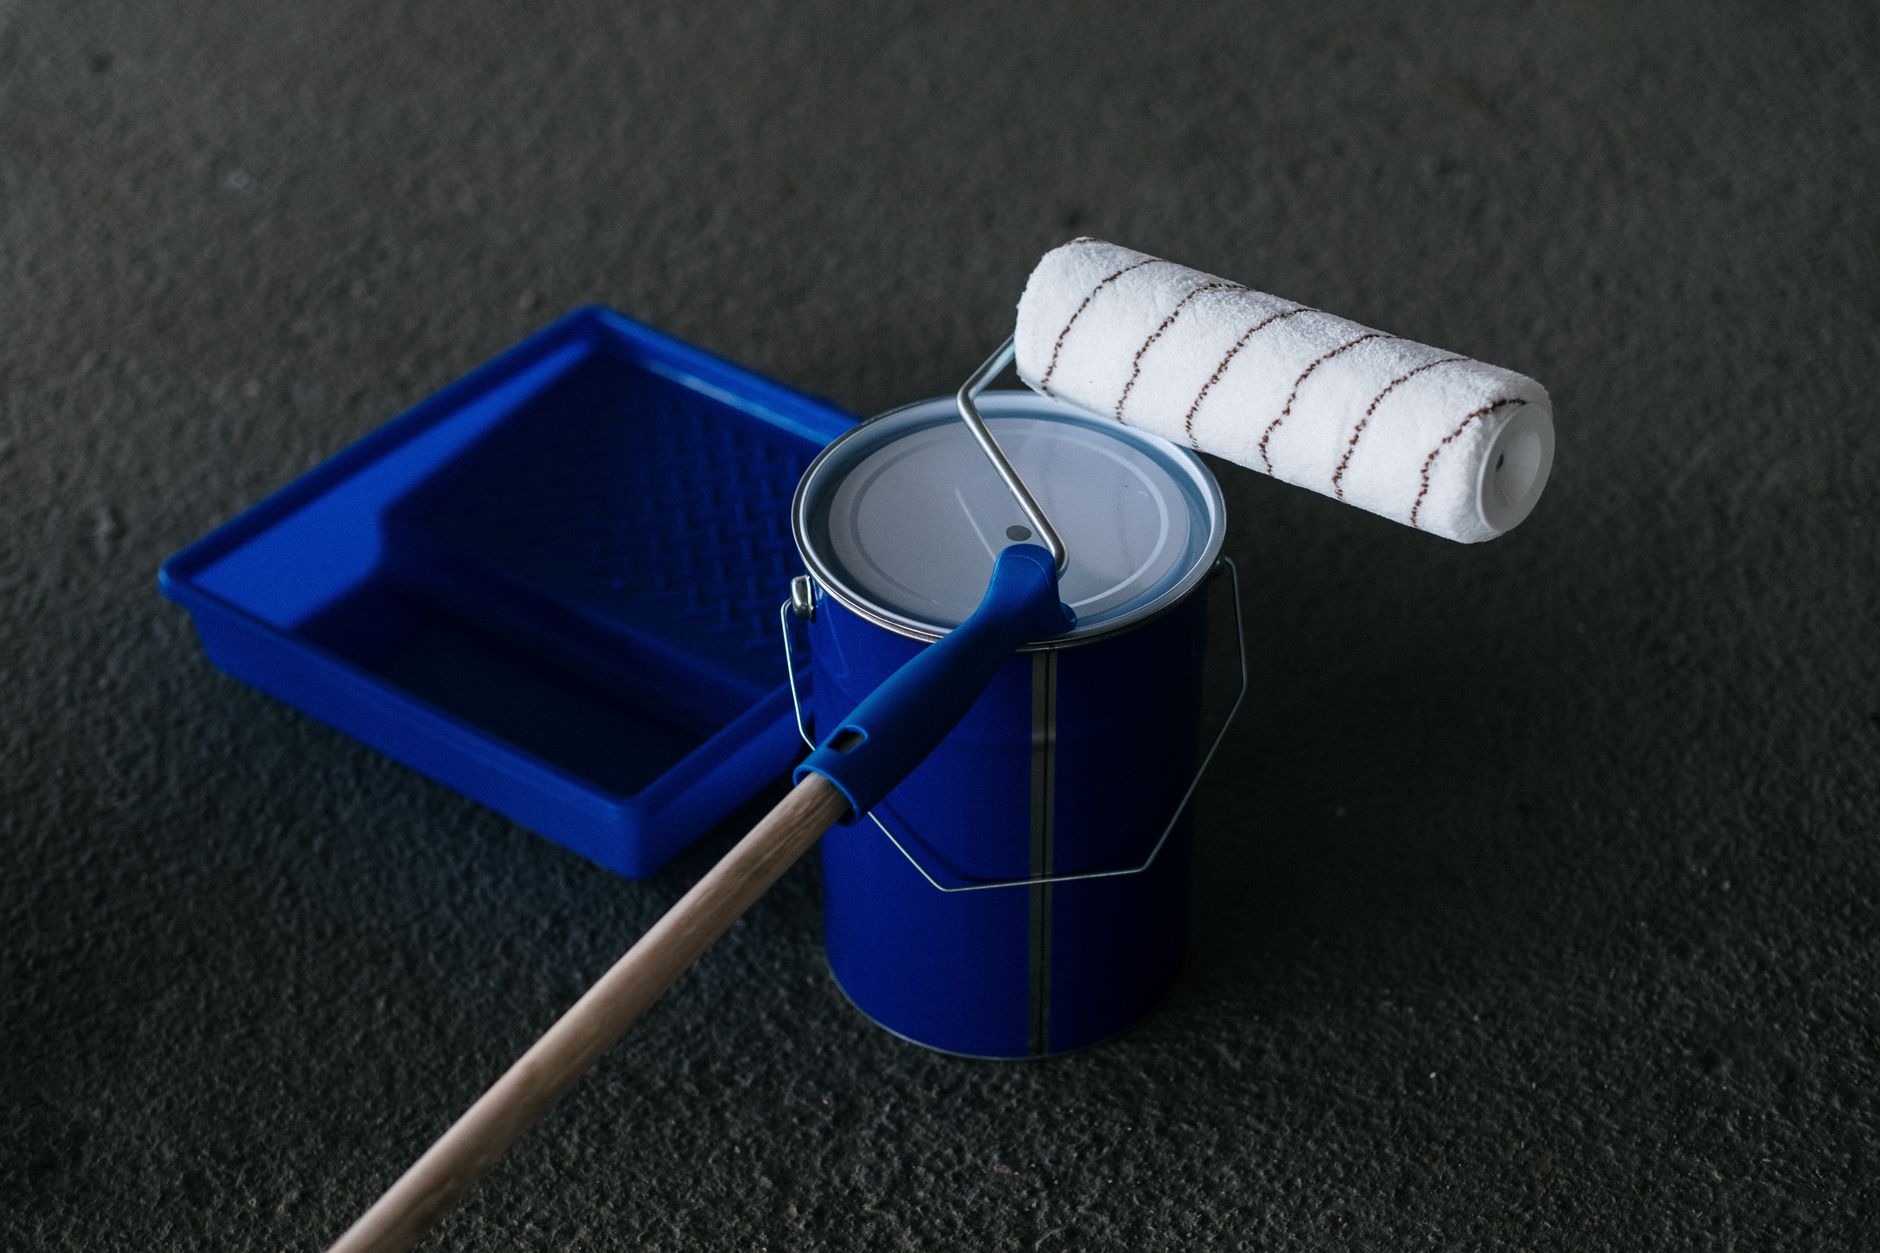
Invest in quality brushes and rollers rather than the cheapest options. Quality tools hold more paint, distribute it evenly, and last longer. A 2-inch angled brush works well for trim and edges. A 3-inch or 4-inch roller covers large flat walls quickly and efficiently. Roller frames with adjustable handles reach high areas safely. Painter’s tape prevents paint from dripping onto trim and creates clean lines between wall colors. Dulux Decorator Centre supplies comprehensive tool selections that ensure you have exactly what you need for success.
Mastering Cutting In and Priming
Professional painters begin every wall by “cutting in”—painting a border around the room’s edges with a brush before rolling the center. This technique creates a clean frame and prevents roller marks near trim and corners. Use painter’s tape along the trim line to protect woodwork, then paint a 2-3 inch band along all edges, around windows, and around door frames with your angled brush. This initial work determines the quality of your final result.
For most interior painting, primer is unnecessary if you use quality paint designed for your surface. However, if you are making a dramatic color change, covering stains, or painting new drywall, primer ensures proper coverage and durability. Prime any new repairs before painting the final color. Allow primer or paint to dry completely between coats—never rush this step as insufficient drying leads to poor adhesion and inferior results.
Rolling Technique for Even Coverage
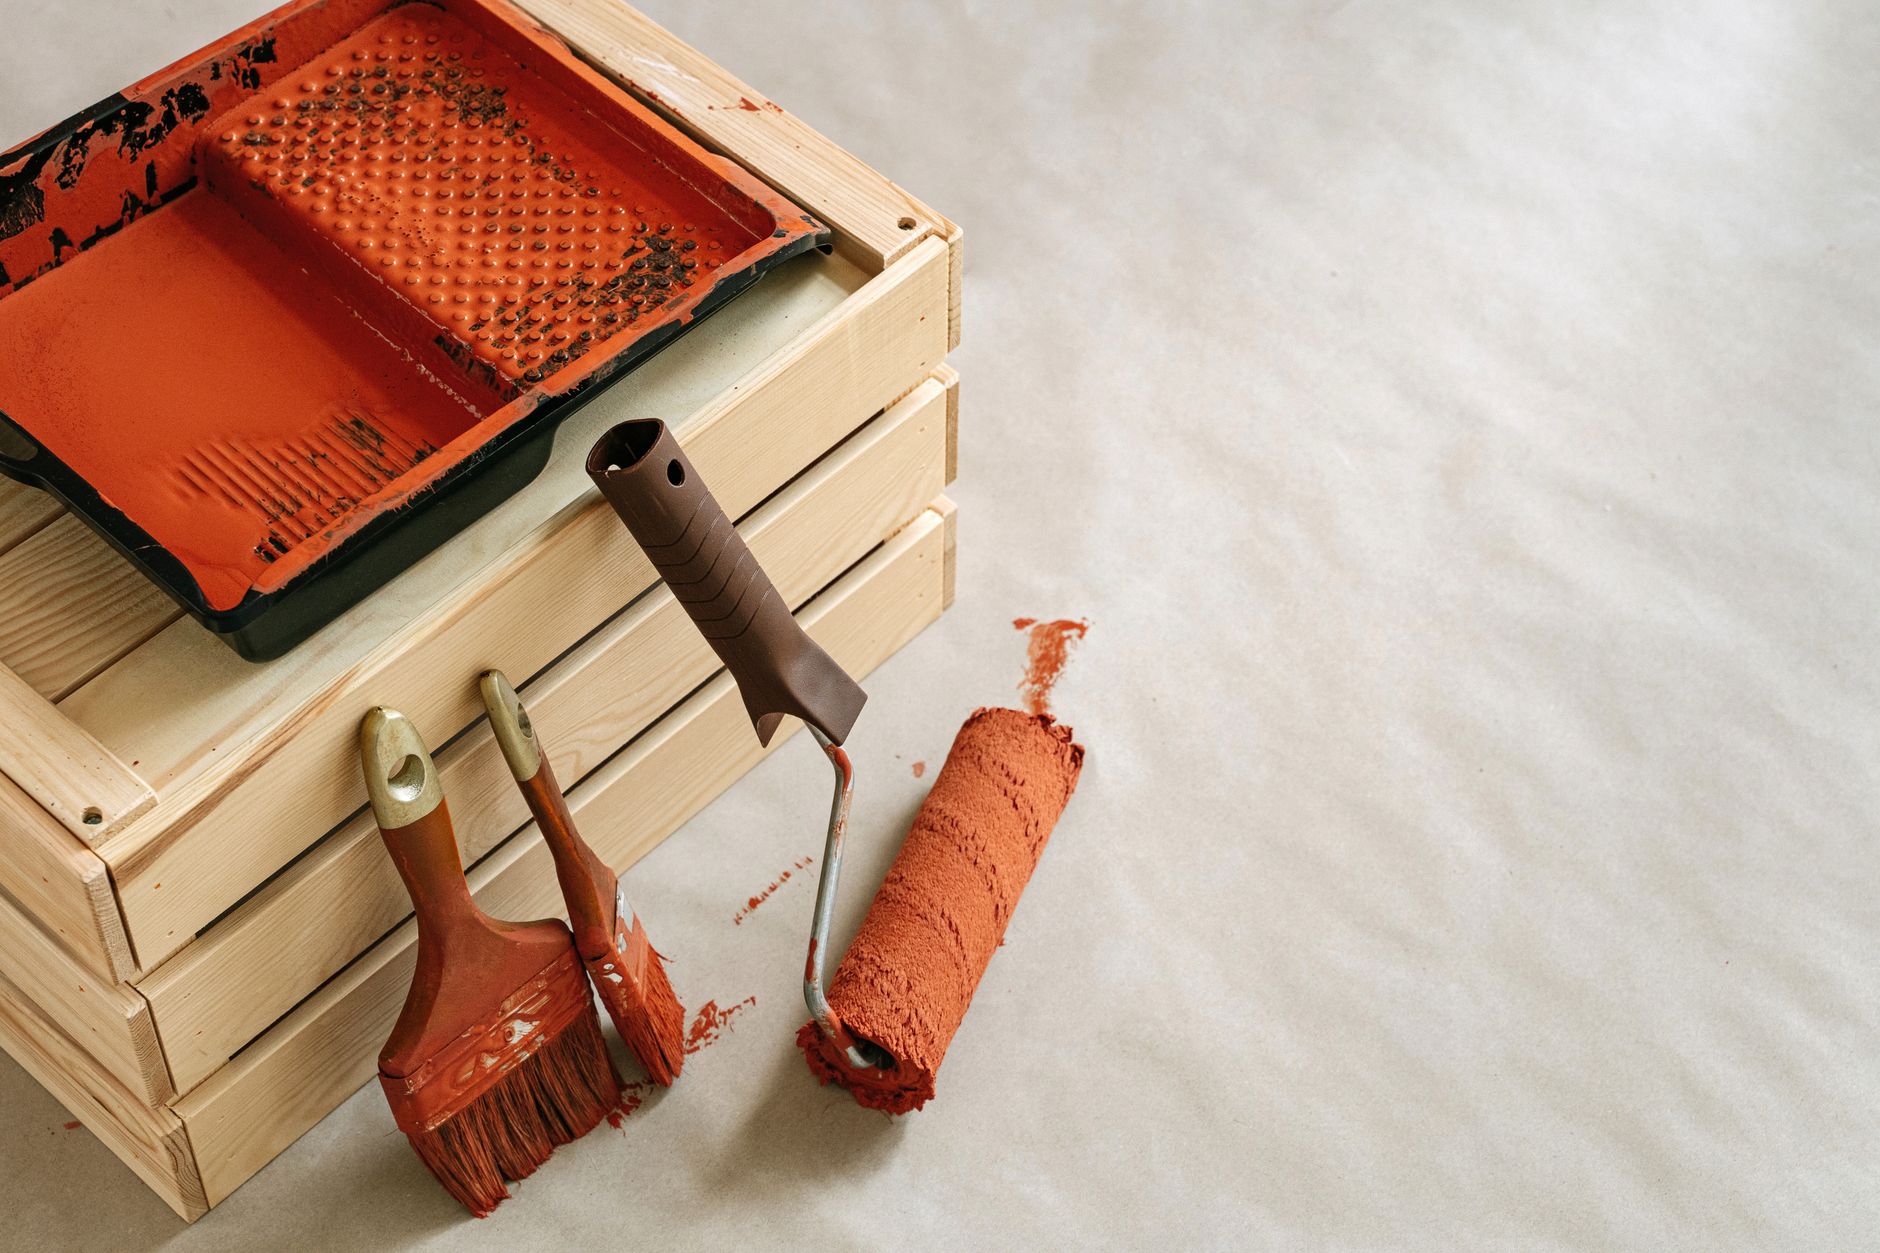
After cutting in, roll the remaining wall surface using consistent, overlapping strokes. Dip your roller into the paint tray and roll back and forth to distribute paint evenly. Apply paint using vertical strokes, then horizontal strokes, then vertical again for the final pass. This cross-hatch pattern ensures even distribution and prevents lap marks. Work systematically across the wall, maintaining a wet edge to avoid dried paint lines where sections meet.
Apply multiple thin coats rather than one thick coat. Most colors require two coats for complete, uniform coverage. Allow each coat to dry completely according to paint instructions—typically 2-4 hours. Rushing between coats compromises adhesion and final results. Patience during drying ensures professional appearance.
Professional Finishing Touches
As your final coat approaches dryness, carefully remove painter’s tape by pulling at a 45-degree angle. Remove tape while paint is still slightly tacky—not wet, which causes drips, but not completely dry, which can tear paint away. Work methodically around the entire room, creating clean lines between colors and trim.
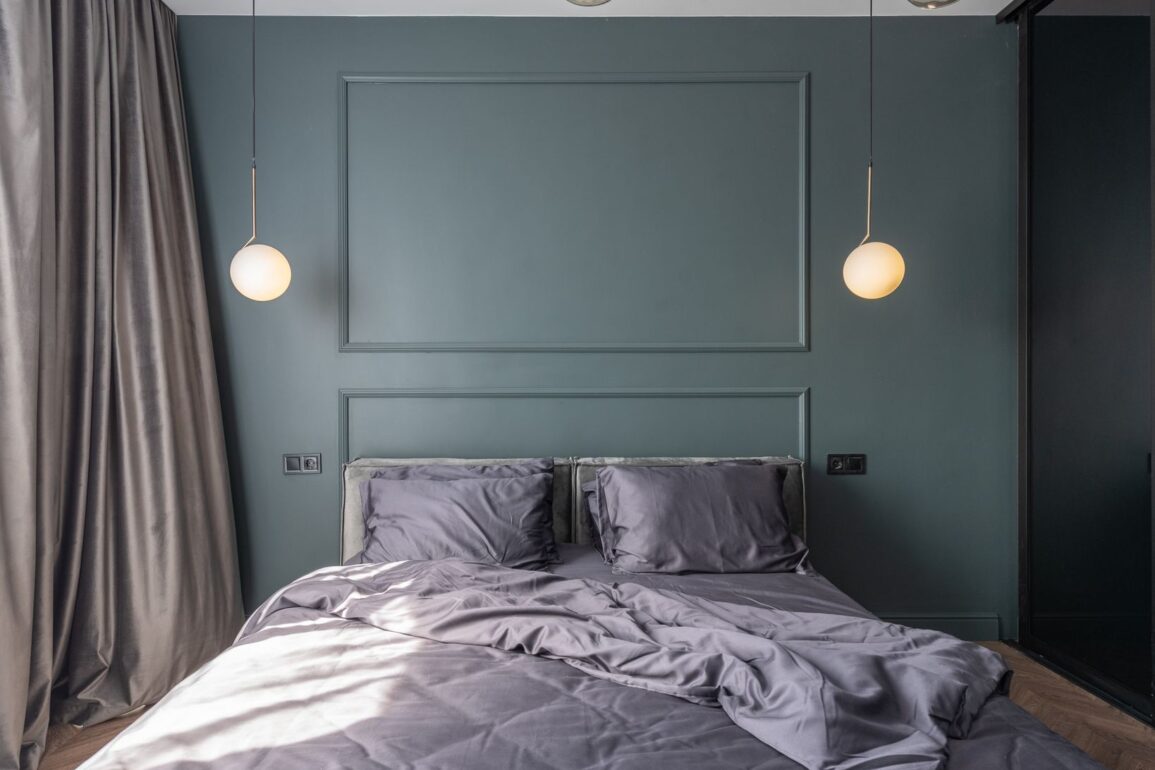
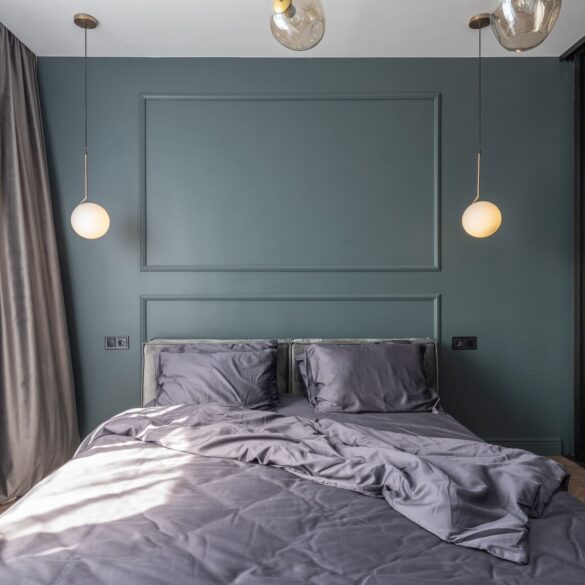
Once paint is completely dry, reinstall fixtures, covers, and hardware. Paint your trim with appropriate trim paint if desired. Consider adding an accent wall or feature color to create visual interest. Dulux Decorator Centre offers inspiration and color consultation to help you envision your finished space.
Common Mistakes to Avoid
Prevent common painting mistakes: inadequate prep work that results in poor paint adhesion, skipping primer when needed, using cheap tools that shed bristles into paint, rushing between coats, applying paint too thickly, and removing tape too early or too late. Avoid painting in extremely cold or hot conditions or excessive humidity—ideal painting temperature is between 50-85°F with humidity below 85 percent. These conditions ensure paint dries and cures properly.
Achieving Your Dream Room
DIY painting allows you to transform your space affordably while gaining the satisfaction of doing the work yourself. By following these systematic steps, preparing thoroughly, and using quality materials from Dulux Decorator Centre, you will achieve professional results that exceed your expectations. Your beautifully painted room becomes a source of pride and the foundation for all your future interior design decisions.